How to Update Your Webflow Website (Without All The Technical Jargon)
Updating your website shouldn’t feel like trying to defuse a bomb with a pair of chopsticks. Yet, here you are, staring at your screen, wondering if one wrong click will send your entire site into a tailspin.
I mean, you’ve just come up with a brilliant new offer—a limited-time deal that’s going to make your competitors sweat. But before you can let the world know, you realize your website hasn’t been updated since.. Forever.
You need to make quick changes, but the thought of diving into a sea of technical jargon makes you want to close your laptop and pretend you didn’t see anything.
But what if we told you that updating your Webflow website could be as simple as ordering your favorite coffee? No technical mumbo jumbo, no need for a computer science degree, just a straightforward guide to keeping your site fresh, relevant, and ready to impress.
Stick with us, and by the end of this post, you’ll have the confidence to update your Webflow website like a pro—without breaking a sweat.
Step 1: Identify What Needs Updating
Before you start tinkering, it’s important to figure out exactly what needs updating. Is it your homepage? A product page? A blog post that isn’t as fresh as it should be?
You can ask these questions:
- Is the content on your homepage still relevant and up-to-date?
- Are there any new products, services, or promotions that need to be highlighted?
- Does the design still align with your brand’s current look and feel?
- Are there any outdated images or links that need replacing?
If you’re not sure where to start, here’s a pro tip: Take a quick tour of your site as if you were a visitor. If you notice anything that feels outdated or irrelevant, then there’s a high chance that those are the spots that need your attention. Make a list, grab your favorite beverage, and get ready to dive in.
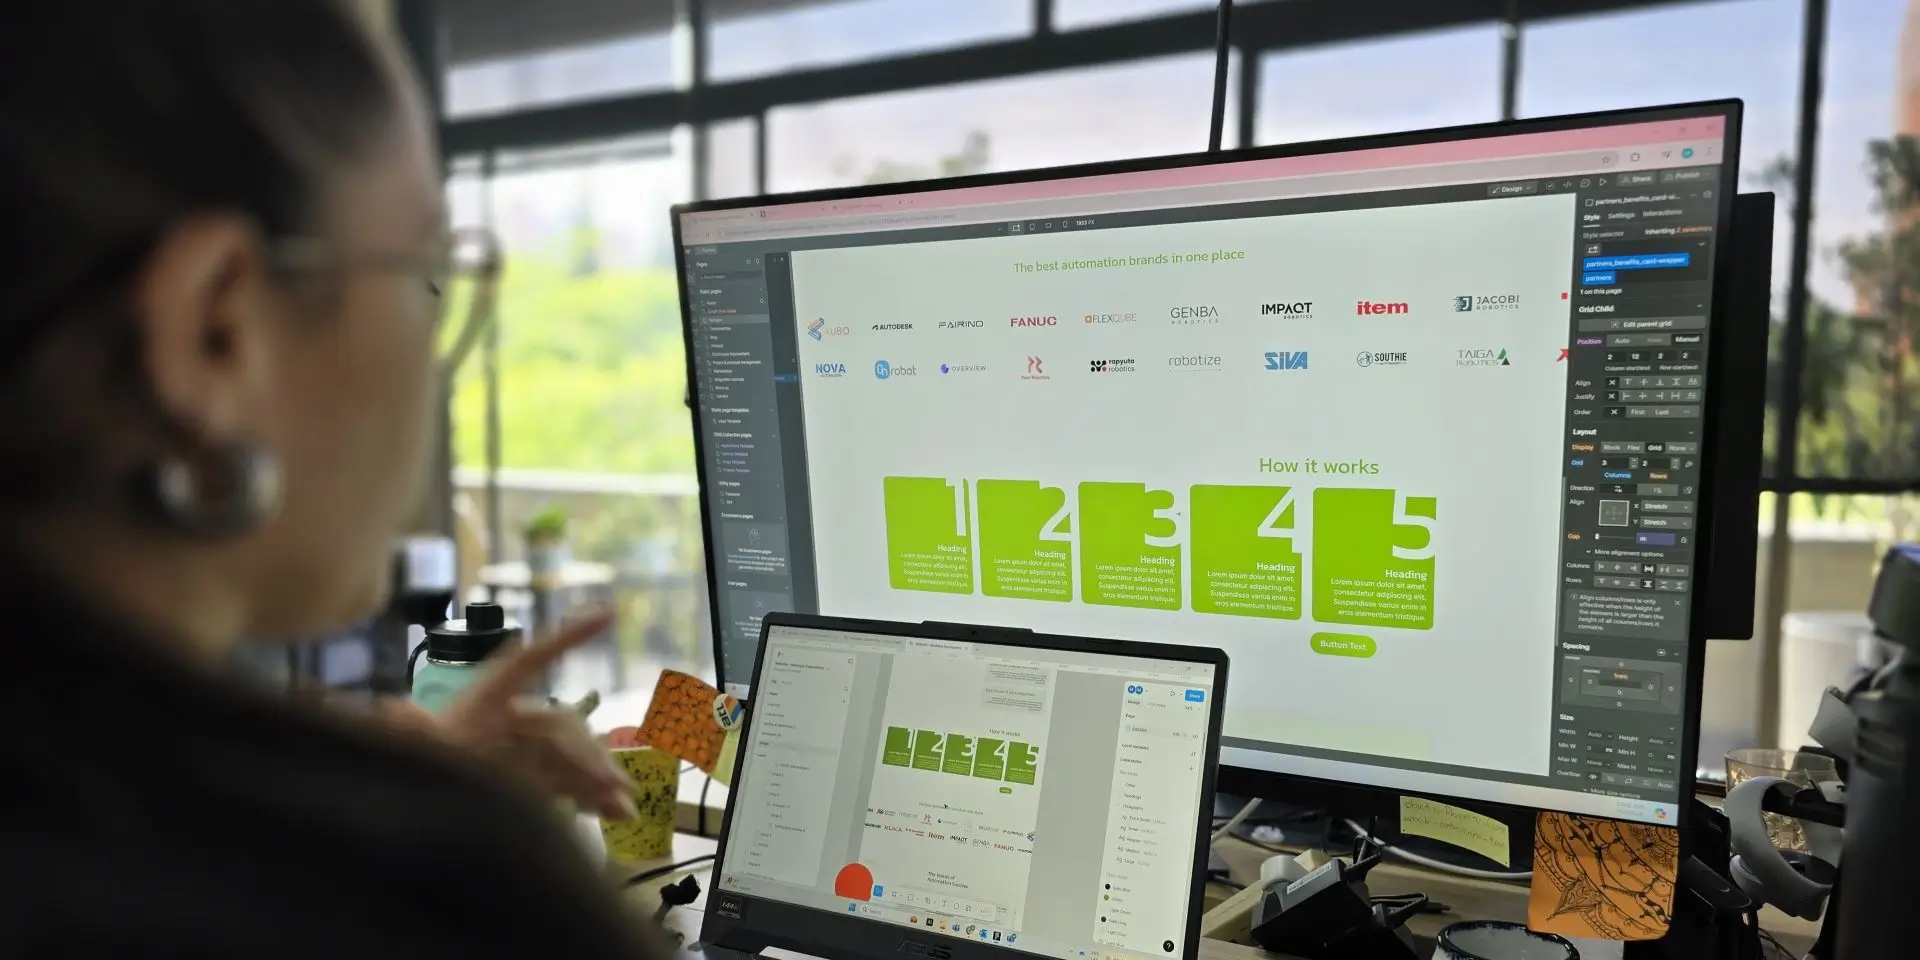
Step 2: Use Webflow’s Editor for Easy Updates
The Webflow Editor is your best friend when it comes to making updates without diving into the deep end of the technical pool.
You need to change some text? Just click on the text box and type away. Want to swap out an image? Click on the image, upload a new one, and voilà—your website is updated.
Need to add new design?
If you need to add new sections, Webflow’s drag-and-drop interface makes it easy to add pre-designed sections like banners, testimonials, or call-to-action buttons. You can customize these sections to match your brand’s style, ensuring they fit into your existing design with ease.
The best part? You’re making these changes directly on the page, so you see exactly what your visitors will see.
And if you’re worried about making a mistake, Webflow has your back with its handy “Undo” button and automatic “backups”. So go ahead, experiment a little. Your site won’t explode, I promise.
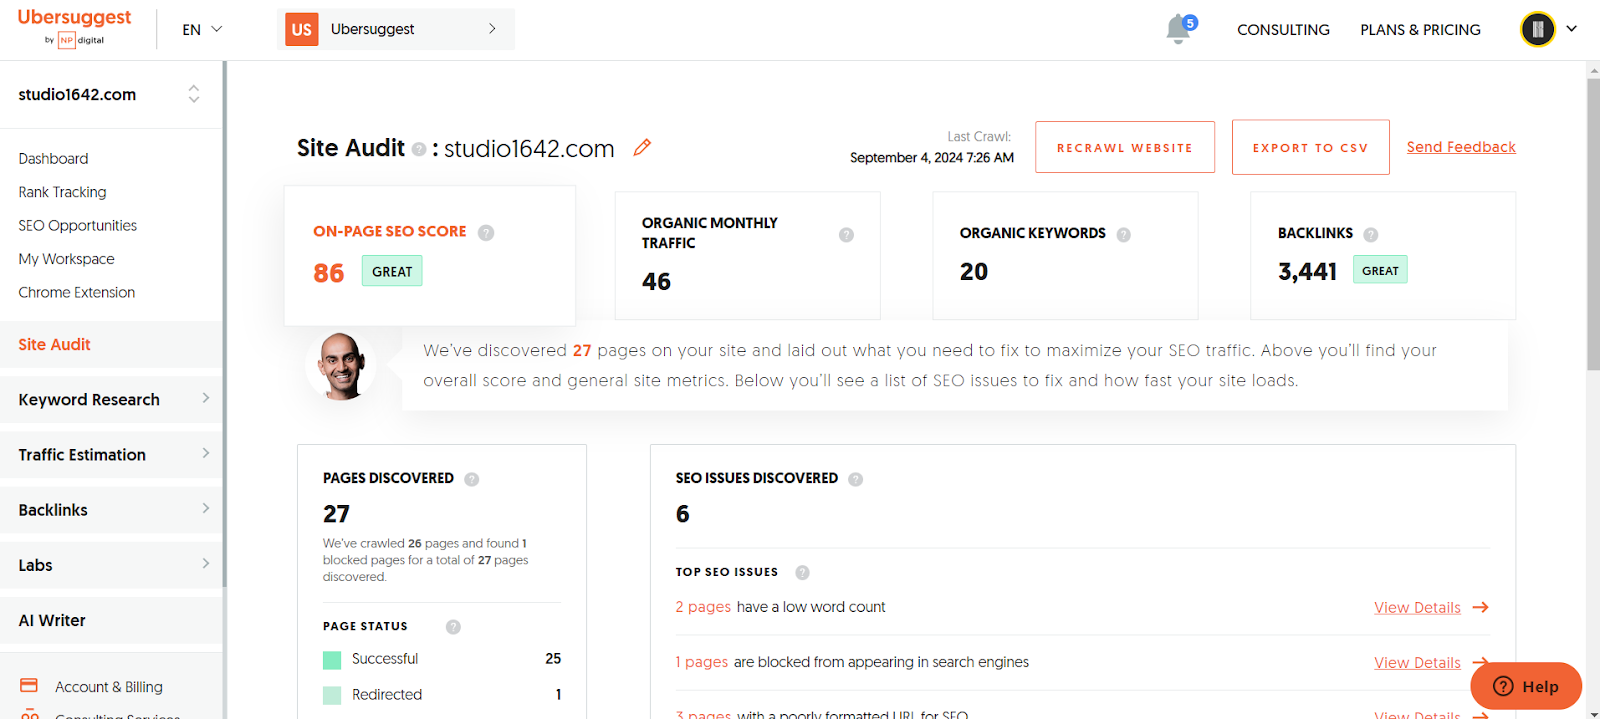
Step 3: Don’t Forget the SEO Details
Updating your content is one thing, but don’t forget about the little details that can make a big difference—like SEO. Every time you update a page, take a few extra minutes to ensure your SEO settings are still relevant.
Check your meta titles and descriptions to make sure they reflect your new content. These are the snippets of text that appear in search engine results, so they should be concise, relevant, and include important keywords.
If you’ve added new images, make sure they have alt text that’s both descriptive and keyword-rich. It helps search engines understand what your site is about, and it also improves accessibility for visitors using screen readers.
As you update content, consider adding internal links to other relevant pages on your site. This not only helps with SEO but also improves the user experience by making it easier for visitors to navigate your site.
Step 4: Check the Security Locks
No one wants to deal with a security breach. The thought of confidential business or client information getting leaked is enough to make anyone break out in a cold sweat. Just like you wouldn’t leave your front door wide open for anyone to stroll in, you shouldn’t leave your website vulnerable to cyber threats.
So, create a website security checklist. This is your first line of defense, making sure you’re covering all the bases.
Ensure that your website has a valid SSL certificate to encrypt data transmitted between the server and users, providing a secure browsing experience. Use Two-Factor Authentication (2FA) for administrative access to add an extra layer of security beyond just passwords. You can also review and limit user access levels to ensure that only authorized personnel can make changes to the website.
Next, keep an eye out for anything suspicious. Monitoring your site for unusual activity and implementing extra security measures like firewalls and malware scans is like setting up a security system for your home. It’s all about staying one step ahead of potential threats and keeping everything locked down tight.
Step 5: Preview and Publish
Once you’ve made your updates, it’s time to preview your changes. This is your chance to catch any typos, misplaced images, or anything else that might look off.
Make sure you carefully double-check text formatting and alignment. Also test any links or buttons to make sure they’re working correctly. Webflow makes this easy with its preview mode—just click the button, and you’ll see your site exactly as your visitors will.
Happy with how everything looks? Great! Now, it’s time to publish. Just hit the “Publish” button, and your changes will be live. It’s like hitting “Send” on an email, but with way more satisfaction.
Step 6: Keep It Regular
The best way to avoid overwhelming updates is to make them regularly.
Imagine that you’re cruising down the highway when suddenly, your car starts making that weird clunking noise you’ve been ignoring for weeks. Next thing you know, you’re stranded on the side of the road, calling for help.
Not fun, right?
Well, just like that neglected vehicle, a website left without maintenance can quickly go from smooth sailing to full-on crisis mode.
Think security breaches, broken user experiences, and other digital disasters that’ll have you frantically dialing up your tech support. These emergencies? They’re not just stressful - they can also burn a big hole in your wallet.
So, don’t wait for things to go south before taking action. Set aside some time every week or month to review your website and make any necessary changes. It’s a bit like flossing—if you do it regularly, it’s quick and painless. But if you wait too long, well, you know how that goes.
Chill, You’ve Got This!
Updating your Webflow website doesn’t have to be a nail-biting experience. With the right approach, you can keep your site fresh and up-to-date without breaking a sweat. Remember, it’s all about identifying what needs updating, using the tools Webflow provides, paying attention to the details, and making it a regular habit.
So next time you have a new product to launch or just want to freshen up your site, don’t hesitate. You’ve got the tools, you’ve got the know-how, and now, you’ve got the confidence to update your Webflow website—without all the technical jargon.
But while updating your website yourself can be rewarding, sometimes it’s nice to have a professional handle the heavy lifting and all the boring stuff.
If you're looking for expert assistance or want to ensure your updates are optimized for performance and SEO, don't hesitate to reach out. Our team of Webflow experts is here to help you with everything from minor tweaks to major overhauls.
Feel free to schedule a consultation today or visit our Webflow to learn more about our Webflow services.
Happy updating!

Other Blogs from Studio1642
Don’t miss out on our latest posts! Follow us on social media to stay in the loop. If you’re ready to start a project or have questions, our team is just a click away.
.webp)
.webp)

.webp)
.webp)


.webp)
.webp)